Candidate fairs have a very specific kind of chaos.
Registration in one place. Booth lists in another. Roles scattered across PDFs and links. QR codes hiding in someone’s inbox until the morning of the event. And a familiar post-event question:
“Who actually showed up, and what do we do next?”
A recruitment event doesn’t fail because the agenda isn’t pretty. It fails because the information people need is spread across too many places.
Bewitt is event management software for organizers who are tired of rebuilding the same event across spreadsheets, forms, inboxes, ticketing tools, PDFs, and chat threads.
For recruitment and candidate fairs, that means one event workspace for the work you already do: publish + register, give participants one link, run check-in, collect feedback while it’s still fresh, and pull reporting without the post-event scramble.
Who this workflow is for
This applies if you run any of these:
- Candidate fairs (single-day or multi-day)
- Campus recruiting and graduate events
- Employer open days and office visits
- Employer-brand events with talks + hiring booths
- Multi-employer hiring events (sponsors/exhibitors)
The usual ops mess (you’ll recognize it)
- Registration is in one tool, agenda updates are in email threads, and “the latest version” lives in a PDF.
- Booth lists and staffing plans live in a spreadsheet no one fully trusts.
- Roles are scattered across links, printouts, and “ask at the booth.”
- On the day, check-in becomes a mix of scanning, manual lookups, and exceptions.
- After the event, someone tries to stitch attendance + notes + feedback into something reportable.
Not because you’re disorganized.
Because your process is doing what it can with disconnected tools.
A practical candidate-fair workflow in Bewitt
1) Publish the event page with your branding
Create an event page with the details candidates actually need: where to go, what happens, what to bring, and what to do next.
Make Bewitt look like your event: logo, colors, and event info in one place.
2) Capture the right candidate details at registration (without making it painful)
Use registration fields that help you plan staffing and follow-up, without turning signup into an interrogation.
Examples that are usually enough:
- Name and email
- University/school
- Graduation year
- Areas of interest (multi-select)
- Opt-in/consent for follow-up
If you need additional fields for your context (phone, work authorization, etc.), you can add them. The point is to collect what you’ll actually use.
3) Optional: add job listings inside the event (experimental module)
Bewitt has an experimental Event Jobs module (disabled by default) where organizers can publish job listings and attendees can apply in-app.
Depending on how you run your fair, that can be used for:
- Your organization’s roles (if you’re the employer)
- Sponsor/employer roles (if you’re running a multi-employer fair)
- Approved third-party roles (if you choose to include them)
The goal isn’t to “build a job board.” It’s to stop sending candidates on a scavenger hunt for roles.
If you’re considering Jobs, it’s worth deciding early: is this just a directory of roles, or do you want in-event applications too? Your follow-up plan changes depending on that.
4) Give participants one link for agenda + updates
Share a single participant link so candidates can always find:
- The agenda (talks, tours, info sessions)
- Location details
- Last-minute changes
- Any modules you’re using during the event (for example: job listings, if enabled)
This is how you avoid “check your email for the latest PDF.”
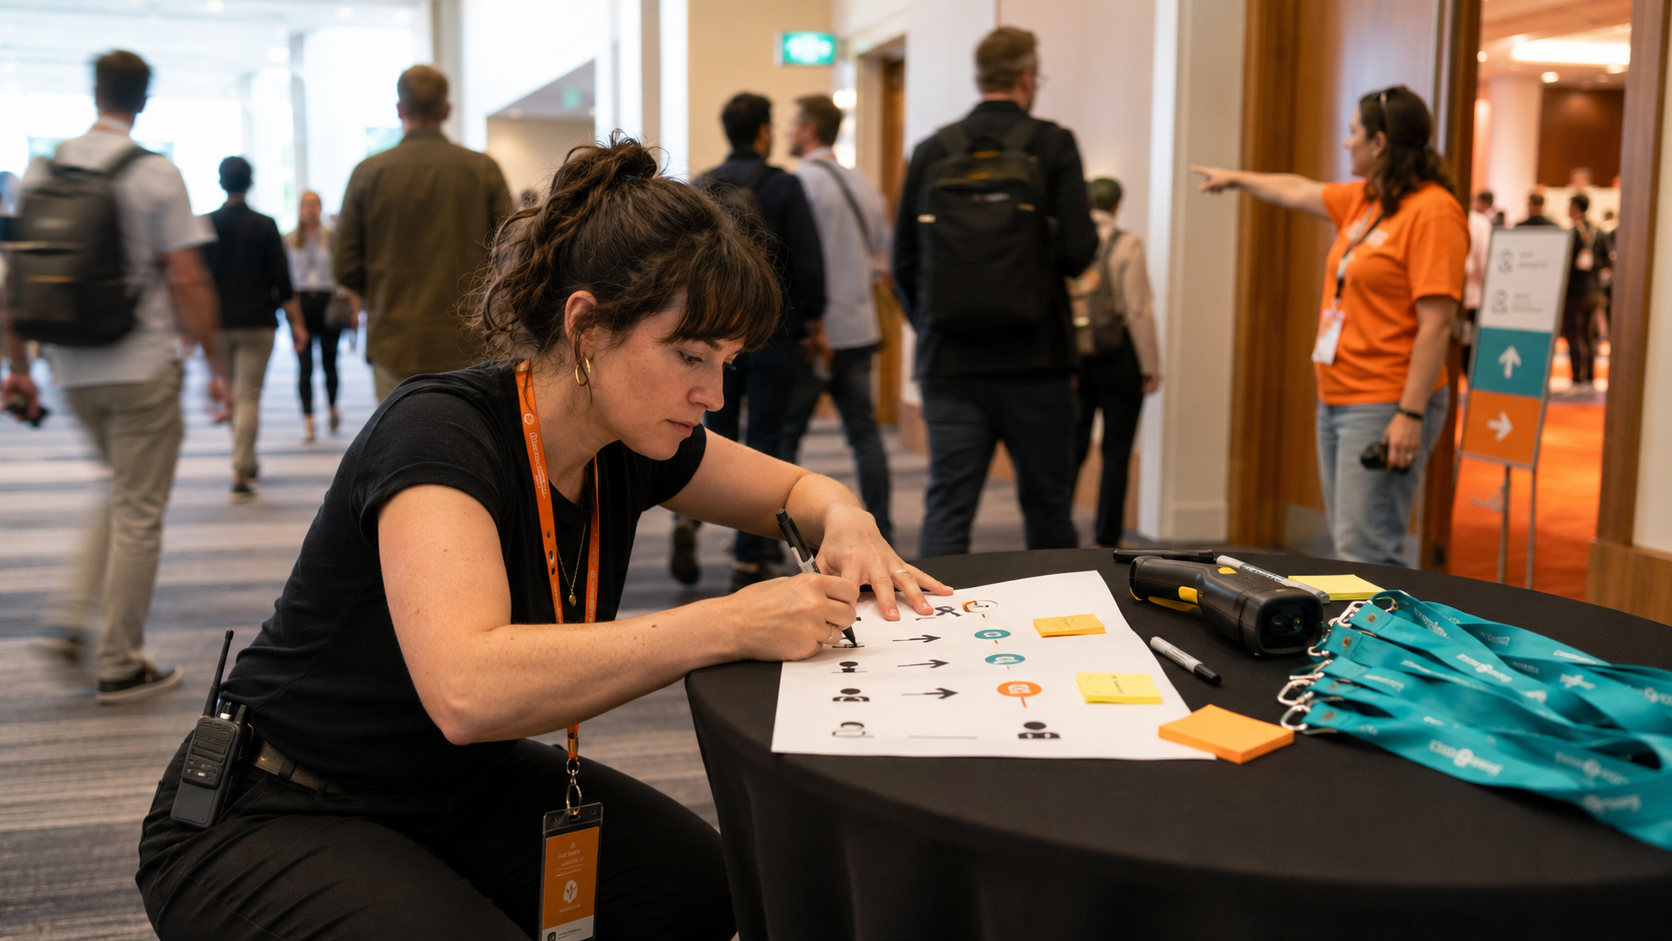
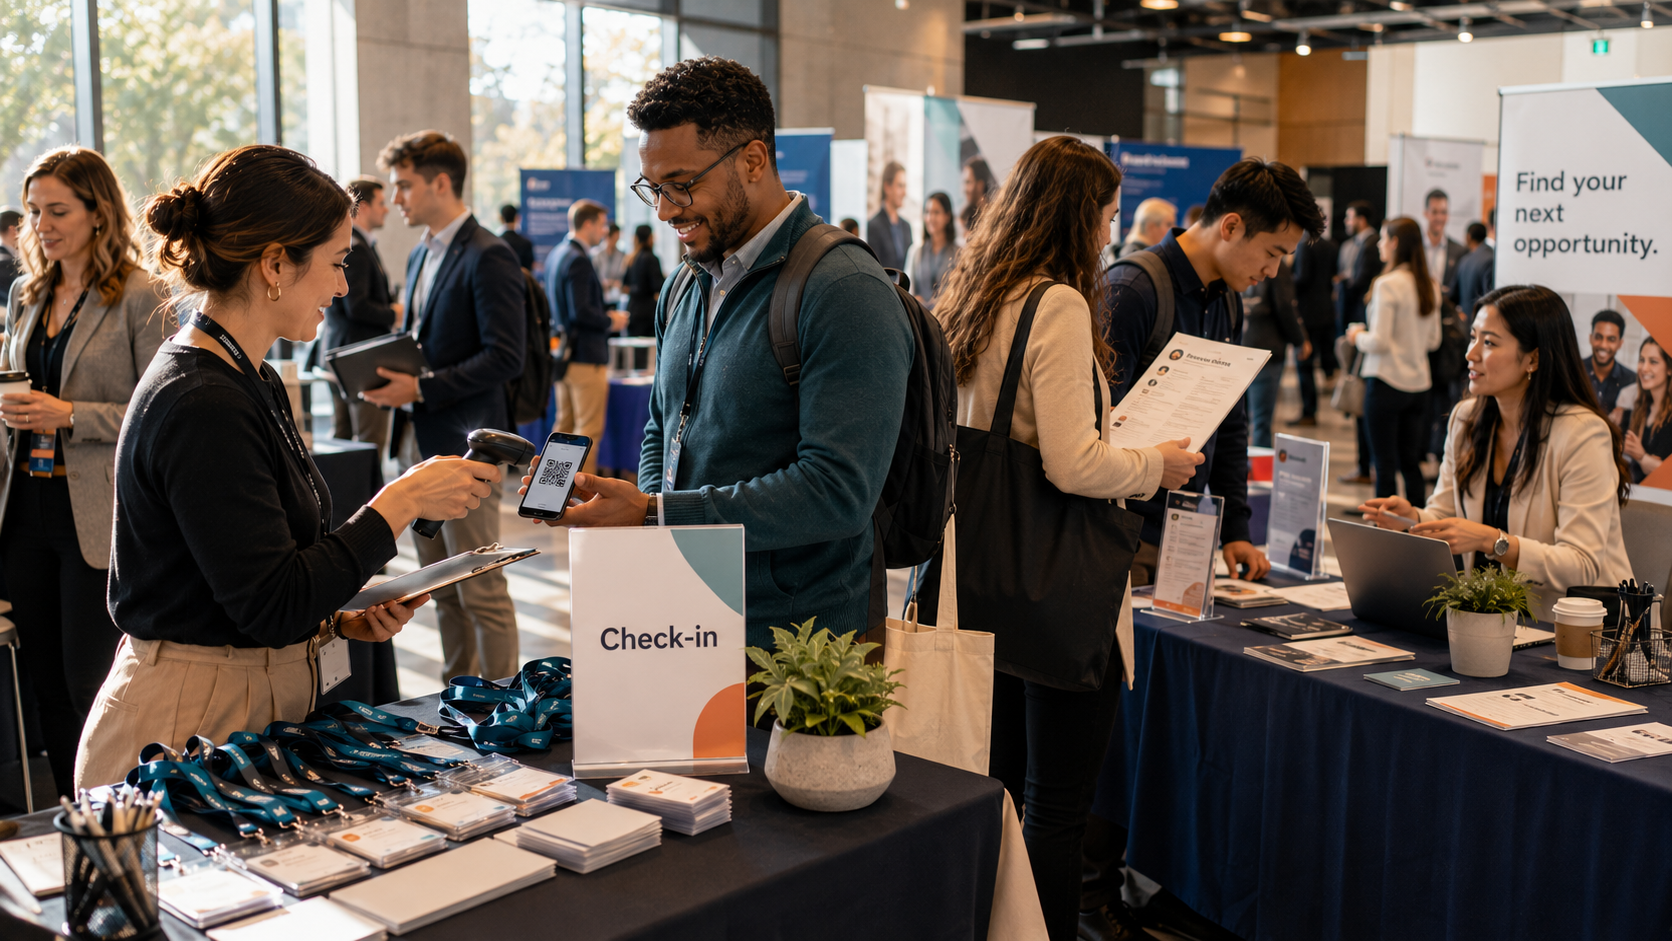
5) Run check-in without a clipboard
Check people in on the day and get a reliable attendance list.
That matters for real operations:
- Staffing and capacity decisions while the event is happening
- A defensible attendance number afterwards
- Clean handover to whoever owns post-event follow-up
6) Collect quick feedback while it’s still fresh
Don’t wait two weeks and hope people remember.
Keep it short and useful. Examples:
- What did you come for today?
- Which sessions were useful?
- What roles/functions are you most interested in?
- Would you attend again?
If you run sessions, you can also collect session-level feedback, not just “how was the event?”
7) Export and report without the post-event scramble
After the event, export what you need for follow-up and internal reporting, such as:
- Registrations
- Check-ins (actual attendance)
- Feedback responses
If you used optional modules (like Jobs), align on what your team wants to measure and hand over before you publish anything. Otherwise you end up back in spreadsheet archaeology.
Copy/paste setup: a simple candidate fair that works
Sample agenda blocks
A structure that fits most fairs:
- 09:00–09:30 Arrival + check-in
- 09:30–09:45 Welcome + “How today works”
- 09:45–10:15 Employer brand talk / overview
- 10:15–12:00 Hiring fair: booths + role Q&A
- 12:00–12:30 Break
- 12:30–13:00 Role deep-dive (internships, graduate program, etc.)
- 13:00–14:30 Hiring fair continues
- 14:30–15:00 “What happens next” + closing
Recommended registration fields (lightweight)
- Full name
- University/school
- Graduation year
- Area(s) of interest (multi-select)
- Opt-in for follow-up
Keep signup fast. If you need richer qualification, do it later (or on-site) in a way that doesn’t block attendance.
A realistic follow-up sequence
- Same day: “Thanks for coming” + link to the event page (so people have one place to return to)
- Next day: Highlights + next steps (and roles, if you published them)
- 3–5 days later: Short FAQ: timelines, who to contact, what to expect
- 1–2 weeks later (optional): Upcoming events / stay in touch
What to measure after the fair
You don’t need a dashboard novel. You need a few numbers you can defend:
- Registrations vs. check-ins (attendance)
- Attendance by time block/session (if relevant)
- Interest areas (from registration fields)
- Feedback themes (what worked, what didn’t)
Pick metrics that change what you do next time. If it won’t change anything, don’t measure it.
Run your next candidate fair in Bewitt
If you’re tired of rebuilding the same event across forms, spreadsheets, and inboxes, Bewitt gives you one place for the workflow—from the first signup to the final report.
📆 Start an event
👉 Request a demo
If you share your current setup (registration tool, check-in method, how you share roles), we’ll map it to a Bewitt workflow and tell you what to keep, what to drop, and what to stop exporting.